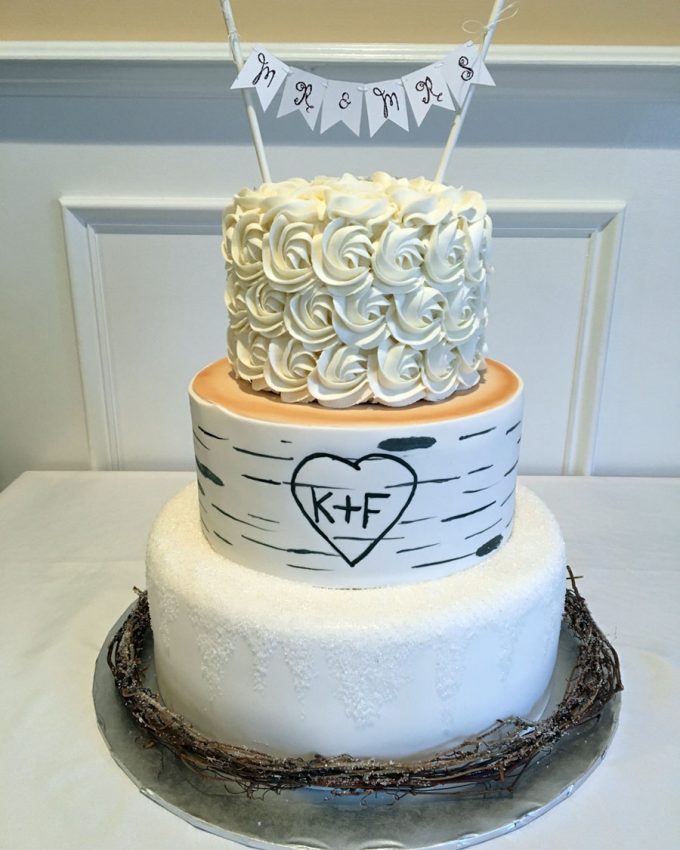
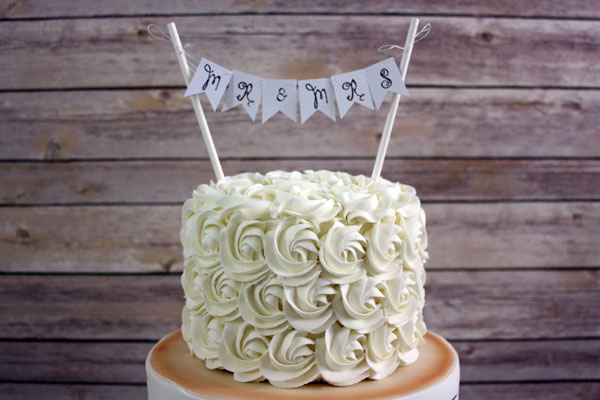
In my last post I wrote (in detail) about how I made this absolutely beautiful Birch tree wedding cake. The bride and groom also wanted an adorable hand made banner cake topper that said “Mr & Mrs”. In this post I’ll quickly show you how I made that as well, it’s super easy!
Step 1: Flag Template
Looking at some of the other Banner Cake Topper how-to’s out there I realized I made mine a little differently. It isn’t your typical bunting type banner, but I think that makes it look less cookie-cutter.
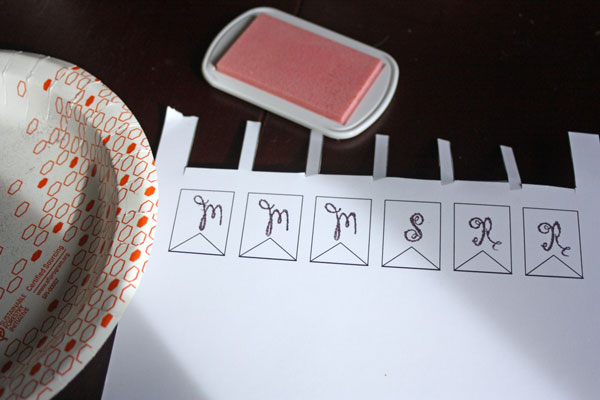
First, to make the flags I created a template for them, which you can download either as a word document (if you want to play with the size or number of them) or as a PDF if you want to print it out as is. You can print the template on regular white paper, or any color you like. I recommend putting your letters on the flags first before cutting them out, that way if you make a mistake you can just go on to the next one and save all the extra cutting.

Step 2: Lettering the Flags
To make the letters I decided to use rubber stamps, since my handwriting isn’t so great. You can always free hand the writing if you want, or even use stencils, whatever you have on had. I happen to have these great script-like rubber stamps and some pretty Embossing Powder, so I even decided to emboss them! Once again, you can always use stamps with an ink color of your choice.
To do the embossing, press the stamp onto a special Embossing Ink Pad, then stamp the letter onto the flag. While the ink is wet apply the embossing powder and let it sit for a bit before pouring off the excess. You can then use an Embossing Heat Tool to set the powder. If you want to learn more about embossing, Craftsy has a quick tutorial or you can find lots of how-to videos on YouTube.
Step 3: Attaching the Flags
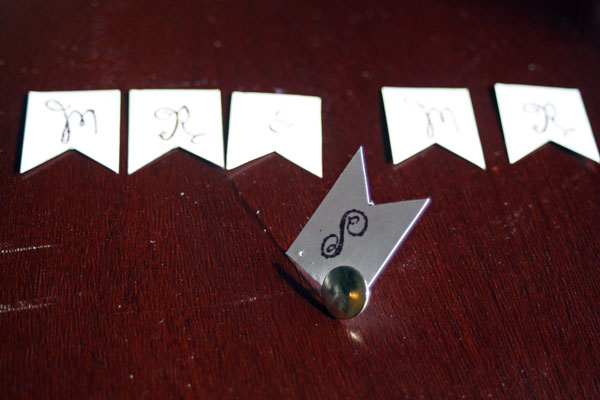
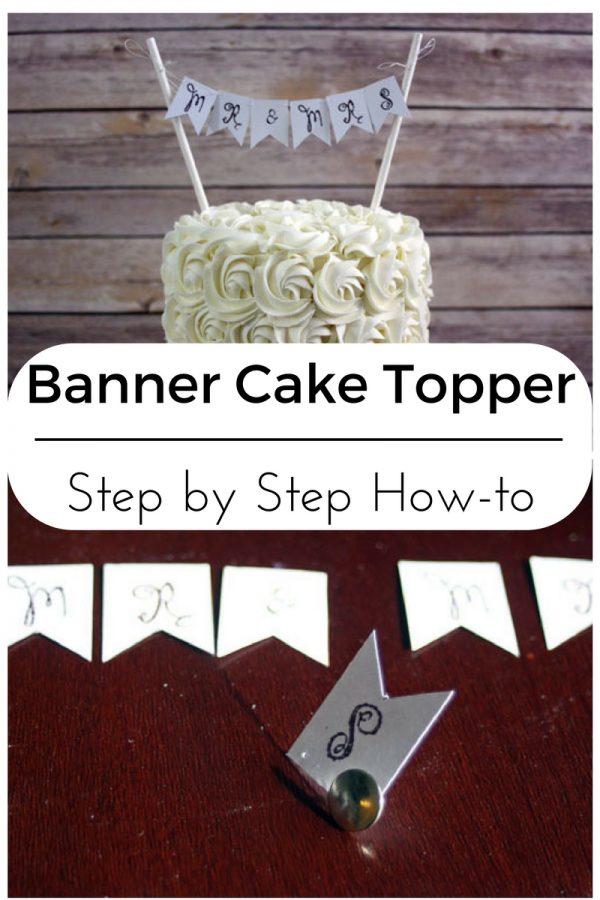
You can see from the image above I made the mistake of cutting out the flags first, then trying to stamp and emboss, and that didn’t go well. That is why I recommend doing the lettering before cutting! Once I had letters that looked good I carefully cut out the flags. Make sure you cut off all of the guide lines so they don’t show on your flags. Next use a thumbtack to make a hole in the to corners. These holes will be used to string the flags together.
To string the flags together I used a needle and some white thread. Again this is where you can get creative and use any kind or color of thread you want, you could even use dental floss! Make sure you leave enough thread on each end to tie the flags to the supports.
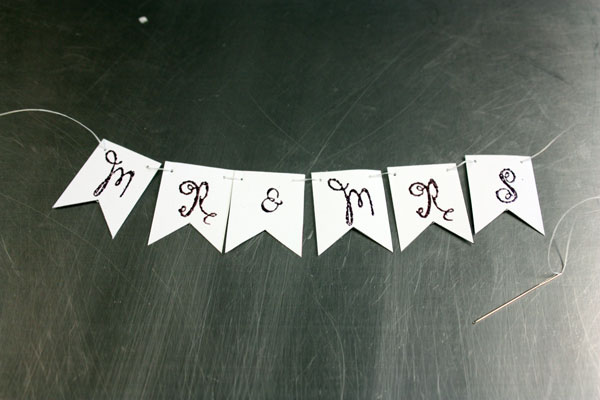
The last step is to attach the banner to some supports. I chose to use Cookie Sticks, since they are food safe, but you could use Lollipop Sticks (which are a skinnier version) or wooden skewers if that look fits better with your cake. I waited to put the banner on until we got to the wedding location so it didn’t get damage during transport.
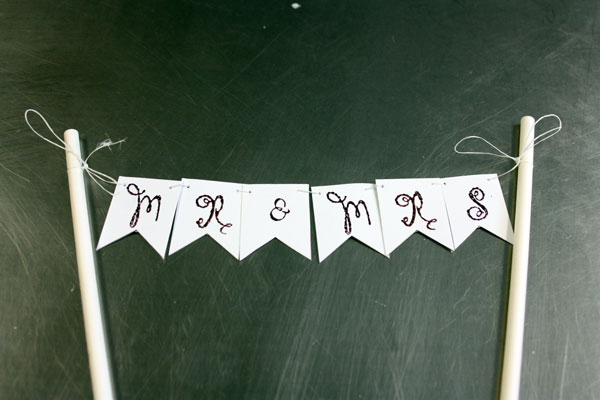
Final Banner Cake Topper



Leave a Reply
You must be logged in to post a comment.