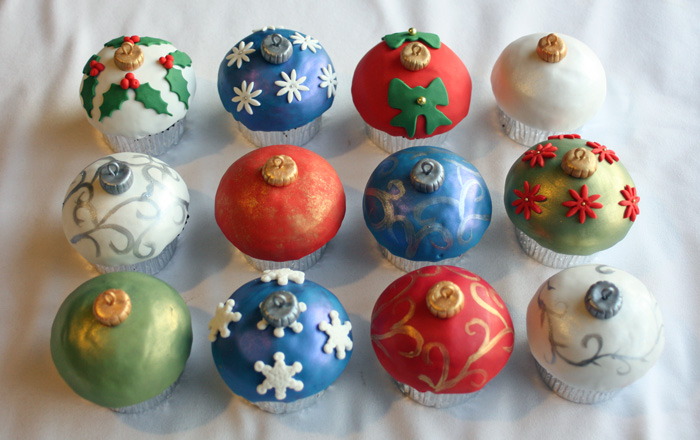
 I made these adorable Christmas Ornament cupcakes a few years ago for a customer. I’ve gotten so many compliments on them that I thought this holiday season I would post a write up of how I made them.
Here is what you will need:
- Standard size cupcakes
- Wilton mini ball pan
- Buttercream frosting
- 3.75 inch circle cutter (or print and cut out this guide)
- Small circle cutter or standard size pastry tip
- Fondant in colors of your choice (I used red, blue, green and white)
- Small rolling pin
- X-acto/craft knife or thin blade knife
- Wooden dowels
- Gold and silver luster dusts (I use Crystal Colors)
- Paint brushes
- Lemon extract or clear vodka
- Various holiday cutters and molds (holly leaves, bows, snowflakes, flowers, etc)
- Edible Dragees (optional)
Bake however many cupcakes you like in a standard size cupcake pan. You will also need to bake the equivalent amount of half spheres using the wilton mini-ball pan. Each cupcake will get topped with a ball half. Make sure you grease the inside of the ball pan well, I like to use Pam with flour and then spread it around with a pastry brush.
Make your cupcakes as usual. For the mini-ball pan add about 1/4 cup of batter to each half ball cavity. Tap the pan on the counter a few times to eliminate air bubbles and bake for about 18-20 minutes or until a toothpick inserted into the center comes out clean.
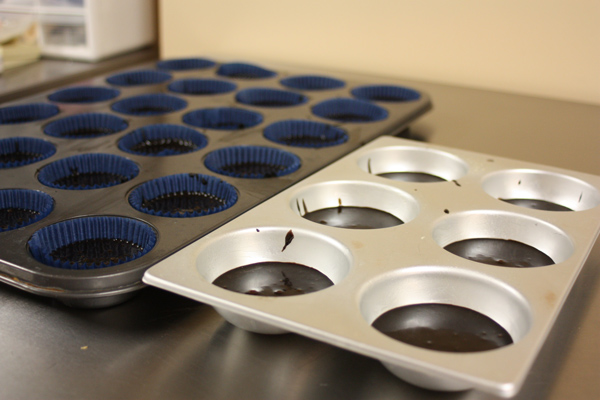 Allow the cake to cool for 10 minutes in the pan before unmolding onto a cooling rack. Once the half-ball cakes and cupcakes are cool put in an airtight container and refrigerate until firm. This will make them easier to handle.
Once the cakes are well chilled you can start assembling. Trim the tops of each cupcake and the bottom of each half-ball so that they are flat.
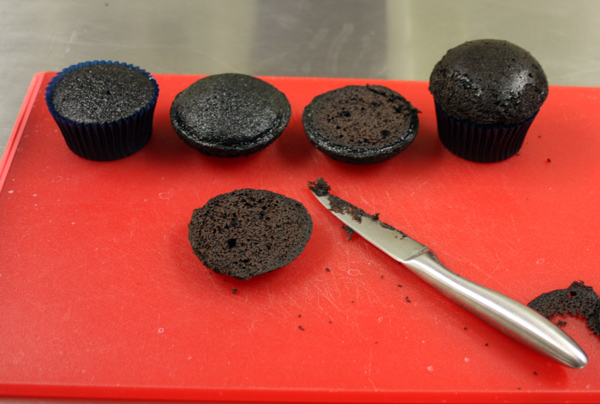 Using a little buttercream attach the half-ball to the top of the cupcake.
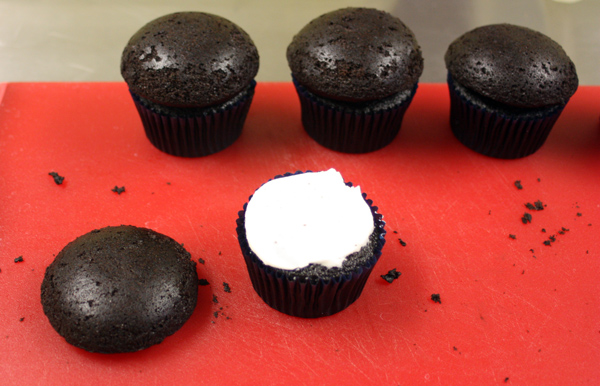 Frost the tops of all the cupcakes as smoothly as possible then let sit for about 10-15 minutes so that the buttercream crusts over.
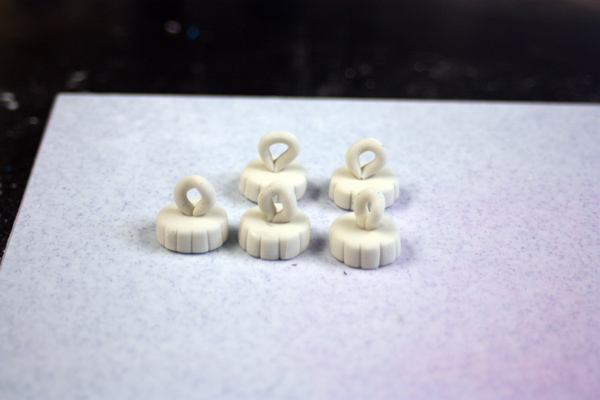
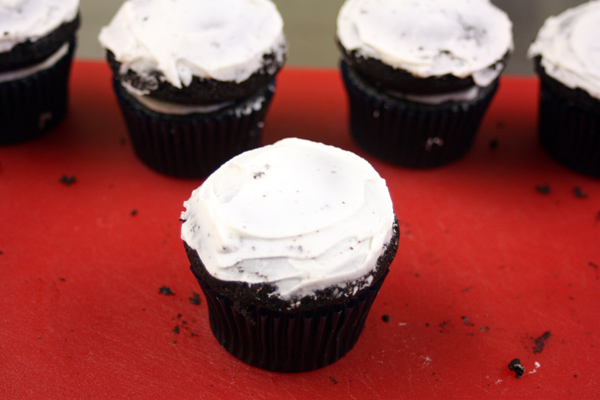 While waiting for the buttercream to set you can make the ornament toppers. Roll out white fondant in between two dowels so that it is pretty thick. Using a small circle cutter or the wide end of a pastry tip cut out as many circles as you need for all of your cupcakes.
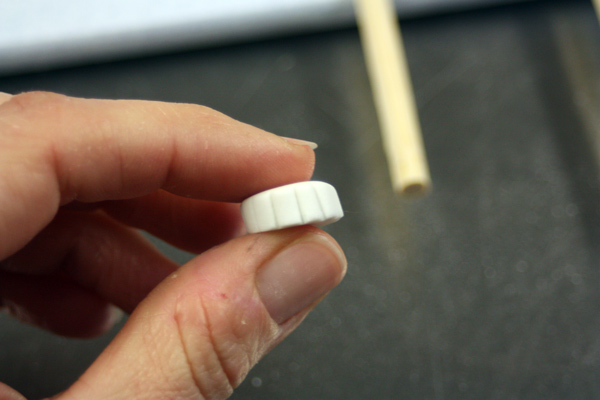
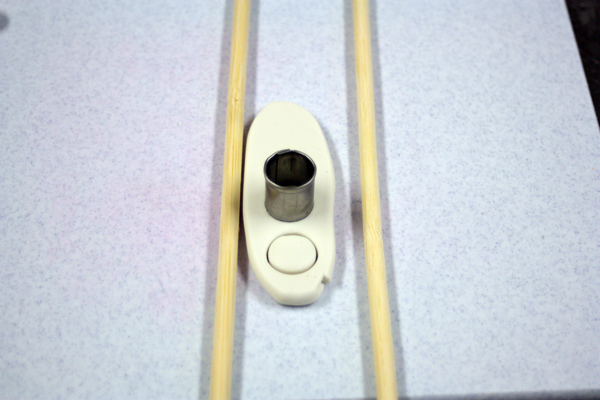 Use an craft knife (or other thin blade knife) make vertical marks around the side of the circle.
 For the ornament loop roll out a thin rope of white fondant and cut to 1 inch lengths. Form the rope into a loop and attach to the tops of the circles using a little water.
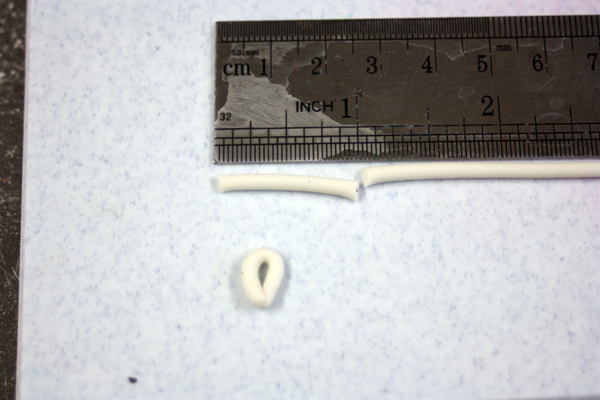 You can make a small indent in the top of the circle for the loop to sit in if it is having trouble sticking. Set the ornament tops aside to dry for a bit while you cover the cupcakes in fondant.
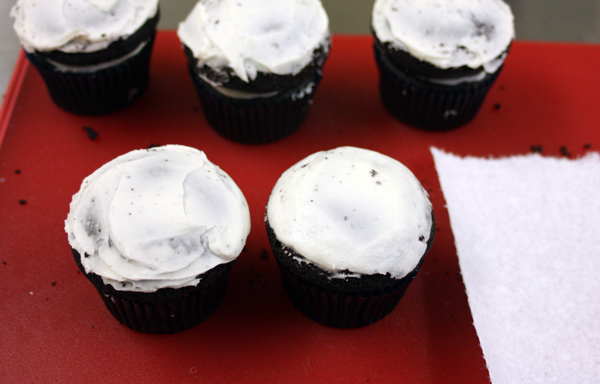
 Using a clean paper towel (I like to use Viva brand since it has no design on it) or a piece of parchment paper smooth the tops of the cupcakes (below left is before, below right is after).
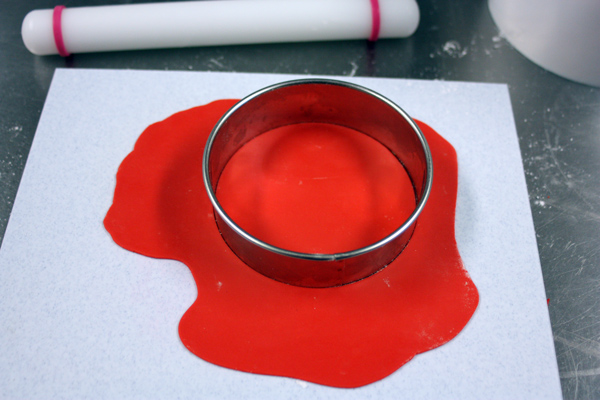
 You are now ready to cover the cupcakes in fondant. Roll out fondant to 1/8 inch thick (I use the small Wilton rolling pin with the thin guides). Using either a circle cutter or the guide provided above cut out a 3.75 inch circle of fondant.
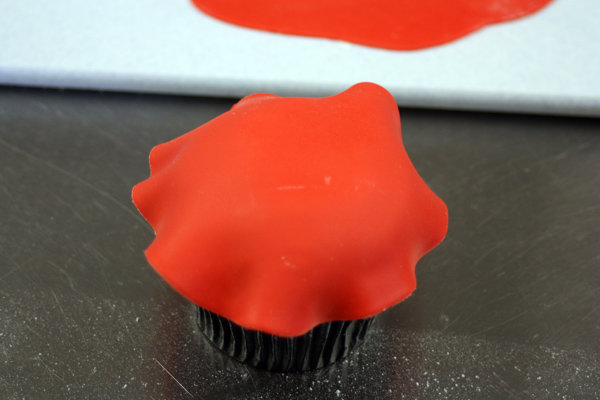
 Center the circle of fondant over the top of the cupcake and gently smooth all the way around. You can tuck in any extra fondant under the dome.
 Once all the cupcakes have been covered in fondant you can begin to decorate. First color the ornament toppers using edible luster dust mixed with a little lemon extract or vodka. You could also try dry dusting the luster dust onto the toppers, it all depends on the look you like.
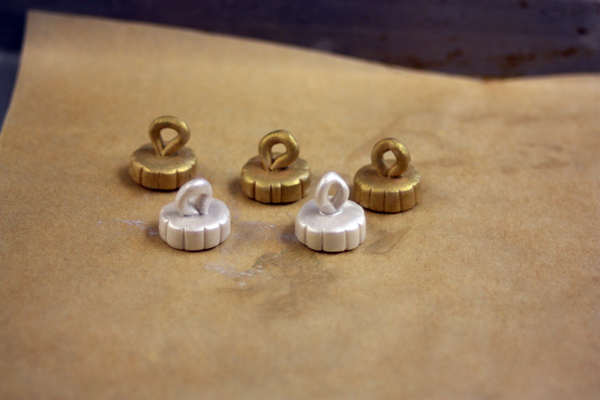
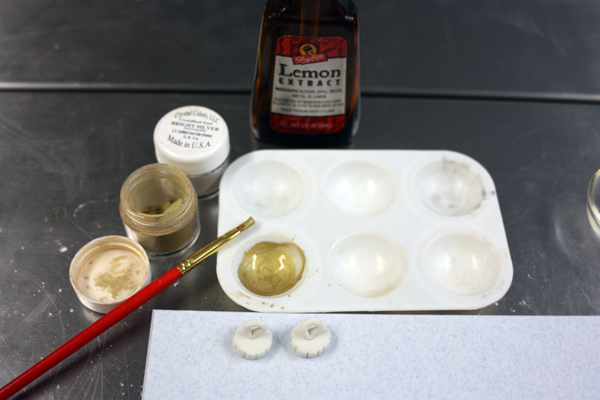 I painted some toppers gold and some silver. You could also make them bronze, black, or whatever colors you like.
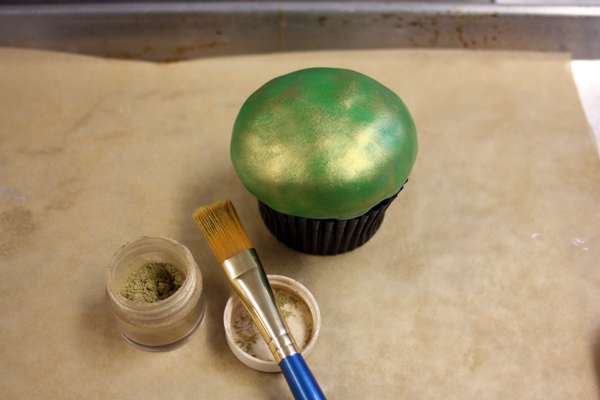
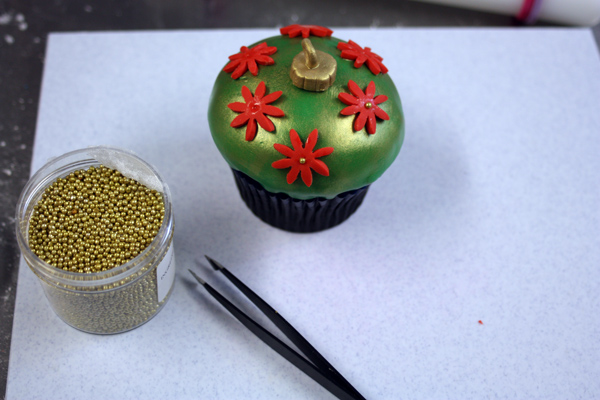
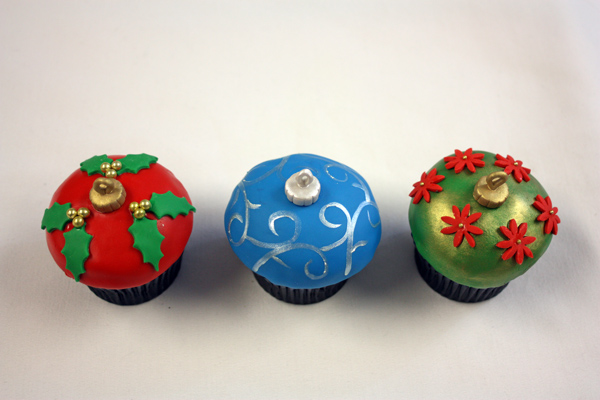
 Now it’s time to get creative with the ornament decorations. One option is to also paint the ornament itself with luster dust. Here I used a dry brush to cover the green ornament with gold luster dust.
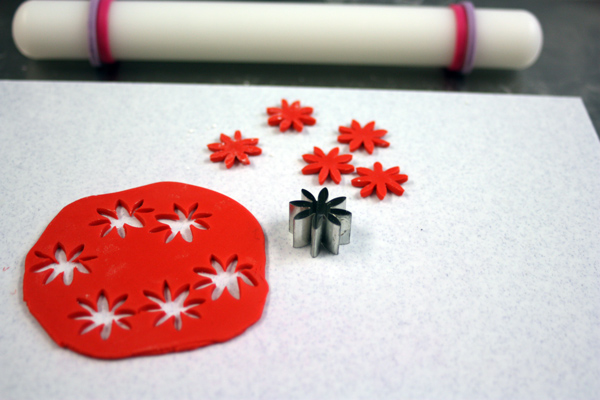
 I used a small daisy flower cutter to cut out red flowers and put a small gold dragee in the center of each. I attached the flowers as well as the ornament topper to the cupcake using a little water.
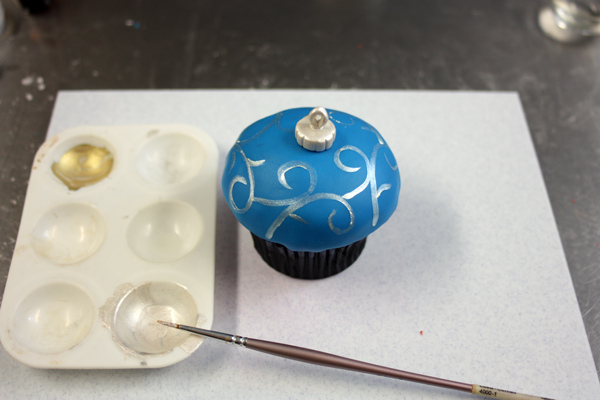
For the blue ornament I mixed some silver luster dust with lemon extract and used a fine paintbrush to paint on a swirl design.
 For the red cupcake I cut out green fondant with a holly leaf cutter and used large gold dragees for the “berries”. You could also roll out small fondant balls and paint them gold for the berries if you don’t have dragees.
 These are just a few decorating ideas, but you can mix and match them in many different ways using different color combinations along with whatever cutters or molds you have on hand. Happy Decorating!


Leave a Reply
You must be logged in to post a comment.